 |  |
 |  |
 |  |
 |  |
 |  |
 |  |
 |  |
7/12/09
How to Make Fabric Flowers (Tutorial Part II)
Making jellied fabric flowers (from the jellied fabric, described below) is quite an easy technique: two or three times of practice are enough to become familiar with all its nuances.
So, first of all, you need a model, according to which you will cut the shape of the future flower. I have lots of them, the majority being made by myself. You can make either a flower similar to the real one (like a rose, or a daisy), or you can just imagine something special, some fantastic flower. First, a model is drawn on the hard paper and cut out.
Here are some of my paper models.

Then put a paper model on the fabric and just outline it with a pen or a pencil. To get a fabric model of the future flower just cut out what you’ve drawn around. Fluffy flowers with multiple petals need several models of different diameters, like this rose.


To proceed you will need a special tool for curving the petals and conglobating them. In fact, this is a common soldering iron. The only note is that a soldering iron should have removable nozzle, because instead of a common nozzle you will need specific nozzles for making flowers. The nozzle looks like an ordinary soldering nozzle but with the round bulb at the end of it. In fact, this is the trickiest part about instruments for making fabric flowers. It is most likely that you will have to find a metal turner, who will be able to make a set of nozzles for you. I had my set made from a piece of copper (it should be copper because this material worms well); and there are several nozzles with bulbs of different diameters (6 mm, 10 mm, 12 mm and 15mm) in my set. In fact, the exact sizes are not crucial – you will just need several sizes to work with smaller and bigger flowers. OK, here are the pics of the nozzles I mean, as it is hard for me to describe them properly (I’m not a technician, you know). One more thing - you will also need a small cushion stuffed either with foam rubber or even salt to make your flowers on.

Warm the soldering iron with the inserted necessary nozzle for about 1,5 minutes, avoiding its overheating not to burn the fabric. Then put the fabric model onto the cushion and press its every petal with an iron so that they could become curved to achieve the shape of the natural flower petals. The center of the flower may also be pressed.


Once all the petals are ready they can be gathered either by gluing one to another or sewn together while making the beaded center of the flower.

You can also make a flower on the stem. The latter is actually a piece of thin wire, braided with paper stripes and with a bead (or several beads) on one end. The stamens are made of even thinner wire with beads fixed on their ends. Make a hook on the stem end and fix the stamens.


To put the petals on the stem, make tiny holes in their centers and gather them together (it is better to fix them with glue) on the stem near the bead, which will serve as a center of a flower. The stem may then be painted green or with the color matching flower petals (sometimes the latter variant is better). I usually use gouache paint for this reason. However, when the whole project is ready, I cover all the stems with transparent nail polish to prevent gouache from losing color.


To make flower leaves you will need a special “knife-shaped” nozzle (on the picture above), with which it is possible to make “veins” of the leaf for it to look more natural. When the leaves are ready, they should be glued to the similarly made stems (wires covered with paper).

At the end, when everything is done your flower may look like this one, or maybe much better. Additional decoration with beads makes the bouquet really special. Just use your imagination and full speed ahead to making fabric flowers!


6/25/09
The new flower brooch I recently made
Hi world and my followers,
Sorry for not posting here for some time... Today I would like to present my recently made flower brooch. I made it to resemble hortensia. Was I successful? How do you think?


Sorry for not posting here for some time... Today I would like to present my recently made flower brooch. I made it to resemble hortensia. Was I successful? How do you think?

6/7/09
Clothing ideas
I sew for quite a long time, and actually about one third, or even more, of my clothes are self-made. My strong point is sewing trousers, but I also enjoy making skirts and blouses. In addition, a lot of things my kids wear are also made by me…
These are the blouses I’ve created this spring. The first one is made of blood red satin, decorated by hand with black cord using my own design.
These two were made in exquisite desire to speed up summer coming.
Hope you’ll like them!

These are the blouses I’ve created this spring. The first one is made of blood red satin, decorated by hand with black cord using my own design.
These two were made in exquisite desire to speed up summer coming.
Hope you’ll like them!

6/5/09
It's all About Flowers - Some of my favourites at Etsy
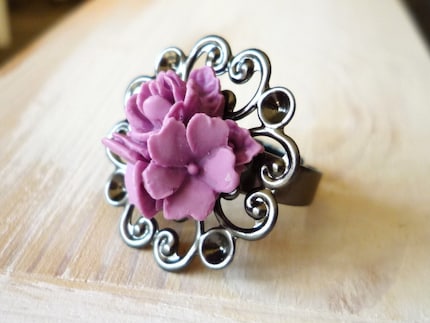
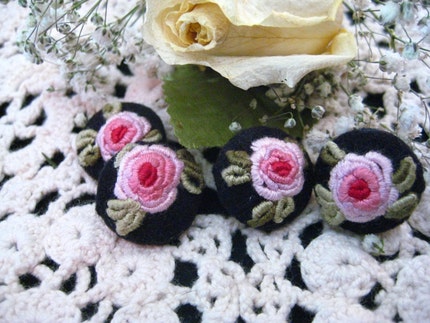
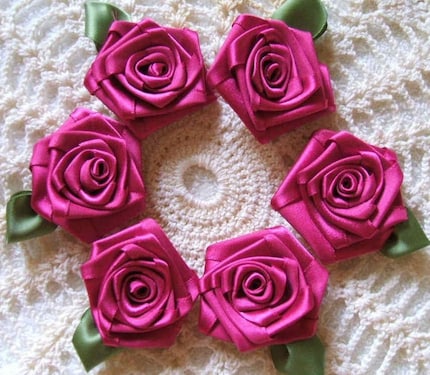
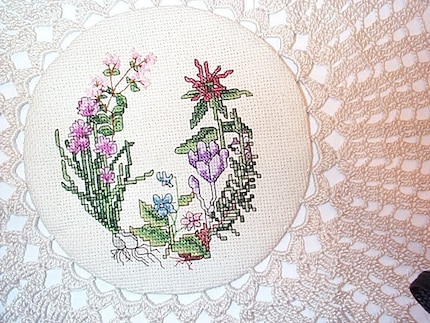
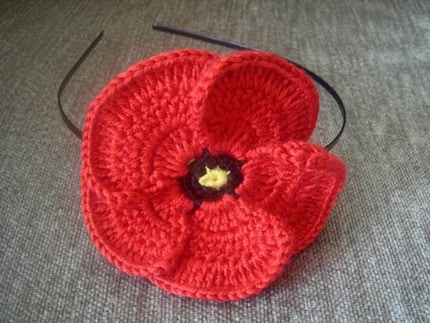
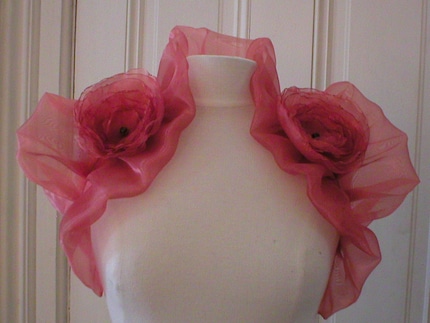
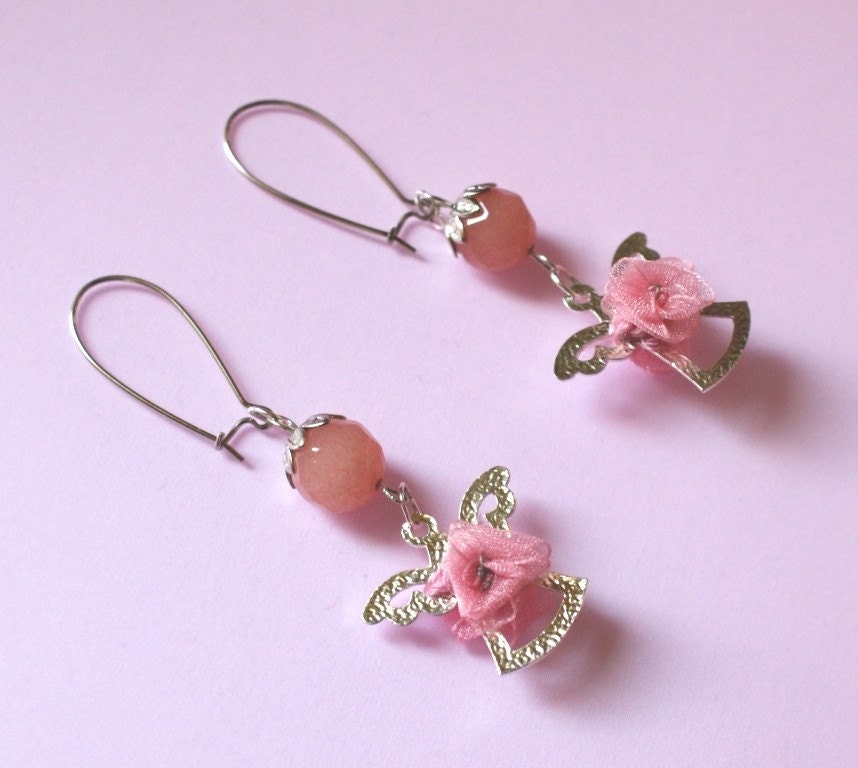
Isn't that amazing that a flower can be shaped into a great variety of jewelry, clothing, decor and many other items of fine art or practical use: necklaces, earrings, brooches, clothing, rings - this is only a short list of what can be made in the form of flower, or have the flower as its key element.
I have gathered some examples of flowers turned into beatiful hand-crafted products from artists at Etsy. Have a look - that is a real beauty.
 |  |  |
 |  |  |
 |  |  |
5/27/09
Some New Ideas for Wedding
Inspired with the upcoming season of weddings, I decided to put all my creative ideas aside and make some jewelry suitable right for such a memorable and important occasion as wedding party. Some of these brooches and those to come (because I still have a lot of designs in my mind) may suit for a dress of a bride, others - for the bridesmaids outfits. Have a look at these fabric flower brooches, I really hope you will like them. However, if you have any comments (either positive or negative) you are welcome to post them, for me to be able to take them into account creating new brooches/corsages.


5/18/09
How to Make Fabric Flowers Tutorial Part 1: Preparing Jellied Fabric
Here’s a detailed tutorial for making jellied fabric, which is the material I use to create fabric flowers you can see on those wall-hanging decorations and brooches.
So, first of all, I use only unflavored gelatin, as I think (though I’m not sure) flavored one may remain sticky even after drying (if somebody tries a flavored kind, please let me know if it’s OK). I pour about 180ml of cold water over two tablespoons of gelatin and let it swell for about an hour if gelatin is fine.

Then I dissolve it on the steam bath stirring from time to time, but don’t let it boil. If necessary, the solution may be filtered to remove any lumps.

It is better to use a bowl to soak not very large fabric pieces in the solution (but do not be in a hurry, let the solution cool down a bit). Excessive gelatin may be removed from fabric by folding the pieces and passing them between two fingers in order not to rumple the material.


Then I hang fabric to dry so that the pieces don’t stick together. I use plastic tubes to dry clothes, so fabric is easy to take off them. But I think it may stick to the thin cord.

When fabric is dry, it is convenient to store it in the rolls.
Different types of fabric may react on soaking in gelatin differently: for example, materials, like organza, are too thin for this purpose and may still be too delicate even if gelatin solution is strong; solid types may become too hard to shape them, so they need lower concentrated gelatin.
I hope this description will be of help for those who want to create fabric decorations. If anyone has questions, you are welcome to contact me and I’ll try to share my experience with you.
Subscribe to:
Posts (Atom)